Corona Virus status tracker with REACT.js
On July 29, 2020 by Sonahang RaiCorona virus status tracker helps us to find about the current situation of the country. It will display some important data to the user related to the corona virus effect. I have previously used simple JavaScript to show the country COVID-19 status. And now in this blog we will create a more advanced tracker. Here we will implement REACTjs. User can input the country name and can get the status of the desired country.
What we will learn in this blog?
- We will learn to create a simple corona virus status tracker app.
- REACTjs will be implemented to create this simple app.
- We will create a simple form where we can input country name find the corona status.
- We will use bootstrap and AXIOX for request handling.
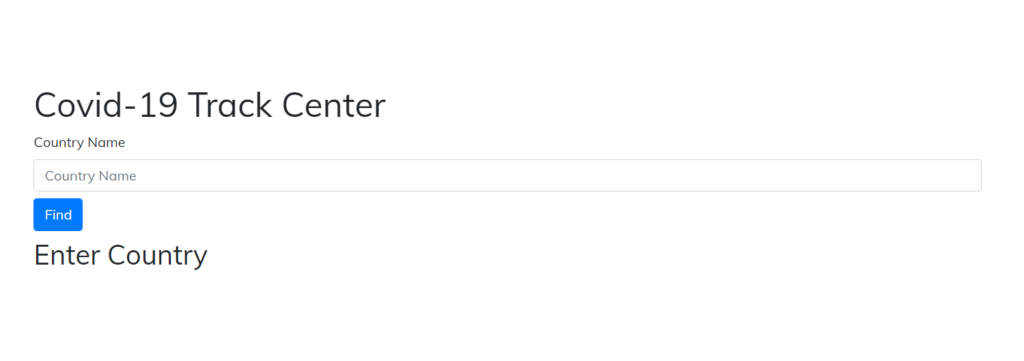
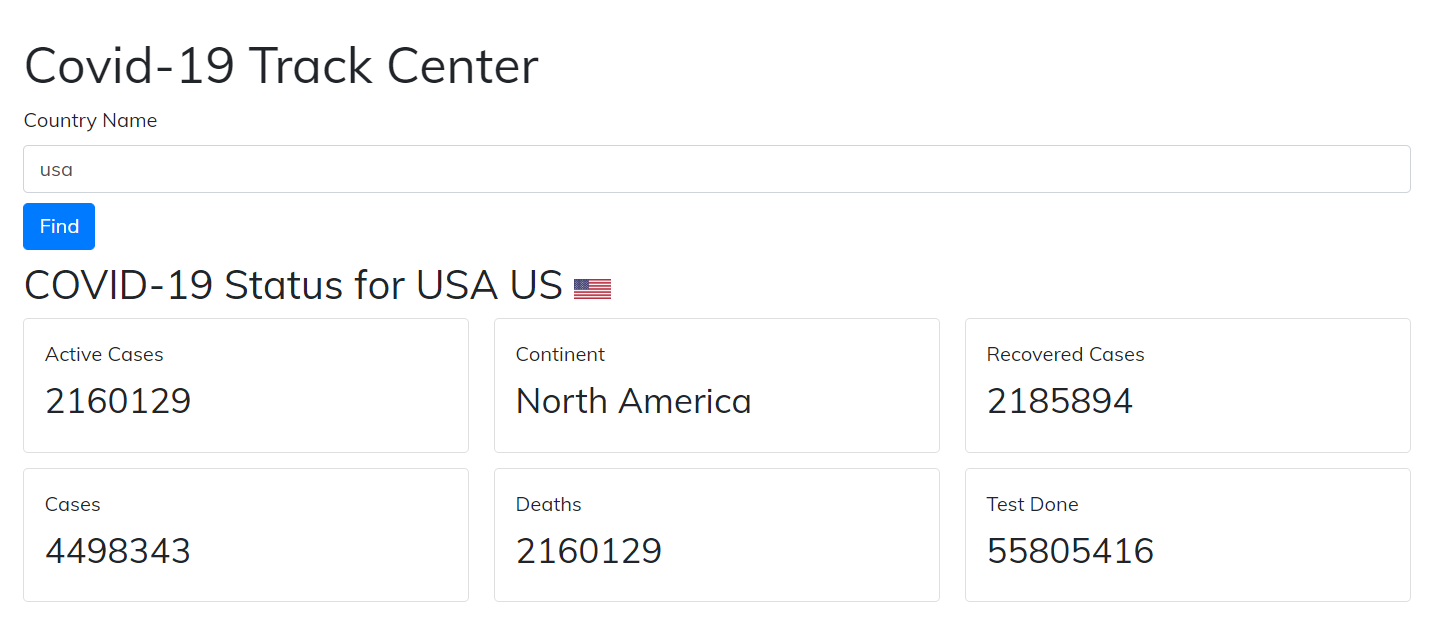
The above picture is what we will be creating today. Its just a simple input field for the country name. After we click find button the data of the COVID effect will be displayed like below.

Creating the react app
First let us create a react app to start our work. You must have the installed node to your computer. If you are ok with node. Then create a react app with the command.
npx create-react-app my-app
You can name my-app as anything you wanna give name to your current app. This will download all dependency and will create a basic react app for you. After that open that folder in your code editor. I prefer VScode but you can use anyone you like.
cd my-app
npm start
Now go into the folder and run the react app and check it. If it runs successfully then we will procced.
Installing extra dependency
Lets install the bootstrap and axios for our small app. You can use bootstrap from either cdn or also install it as npm package.
npm i axios
npm i bootstrap
Making form for the country name input
Now let us start with our code work. We will only modify the app.js file of generated by the create-react-app. Erase everything inside the return of the code.
First lets create a form to get input from the form as country. We will use the bootstrap classes to style our form.
<div className="form">
  <form className="form" onSubmit={onsubmit}>
     <div className="form-group mb-2">
        <label htmlFor="country" className="label">
            Country Name
        </label>
        <input
             type="text"
             id="my-input"
             name="country"
             value={country}
             onChange={change}
             className="form-control"
             placeholder="Country Name"
             required
         />
        </div>
          <button type="submit" className="btn btn-primary mb-2">
            Find
          </button>
  </form>
</div>
Lets give name to the input type as country and value as country too. We also gave an onChange function to trigger the change of value. Before this we need to declare our object with the useState like below.
const [data, setdata] = useState({
    country: "",
});

const { country } = data;
After that we can now create the function that is handled during the onChange event.
const change = (e) => {
    setdata({ ...data, [e.target.name]: e.target.value });
};
The above function handles the onChange of the input filed. Whenever a value is changed the value from the input is assigned to the object data. After that lets create a onSubmit event function.
Geting the COVID data from the api
Now lets create a function to get data from covid api and set to an object to use it for displaying. Lets create an object to store the data received from the api.
const [cdata, setcdata] = useState(null);
The initial value of the cdata will be null. So that we can check it and display the data in the view.
const onsubmit = (e) => {
    e.preventDefault();
    var cont = data.country;
    try {
      Axios.get(`https://corona.lmao.ninja/v2/countries/${cont}`)
        .then((res) => {
          const i = res.data;
          setcdata(i);
        })
        .catch((err) => {
          alert("Country Not Found");
      });
   } catch (error) {
   console.log("Error occured");
  }
};
The above code shows on how to get the data from the api. We have installed axios previously. So we will use axios to fetch the data from the api. We have passed the cont variable in api as the country name which we get from the form. If we successfully get the data then we set it to the cdata object.
We will use the cdata object to display the covid data’s further.
Displaying the datas from api to Bootstrap cards
We got the data’s and stored it in the cdata object. Now lets show the data. We can simply use the object to display the data.
<Fragment>
  <h2>
     COVID-19 Status for {cdata.country}{" "}
     <span>{cdata.countryInfo.iso2}</span>{" "}
     <img
         src={cdata.countryInfo.flag}
         alt={cdata.countryInfo.iso3}
      />
  </h2>
  <div className="card-columns">
    <div className="card">
       <label color="textSecondary">Active Cases</label>
       <h3>{cdata.active}</h3>
    </div>
    <div className="card">
       <label color="textSecondary">Cases</label>
          <h3>{cdata.cases}</h3>
    </div>
    <div className="card">
       <label color="textSecondary">Continent</label>
       <h3>{cdata.continent}</h3>
    </div>
    <div className="card">
        <label color="textSecondary">Deaths</label>
        <h3>{cdata.active}</h3>
    </div>
    <div className="card">
         <label color="textSecondary">Recovered Cases</label>
         <h3>{cdata.recovered}</h3>
    </div>
    <div className="card">
          <label color="textSecondary">Test Done</label>
          <h3>{cdata.tests}</h3>
     </div>
  </div>
</Fragment>
Now lets keep the condition so that when there is no data of covid we will display Enter country as message.
{cdata === null ? (
   <h2>Enter Country</h2>
) : (
    // The data showing code of above
)}
Style your app
Finally you can style your app with modifying the app.css file.
Finally our app is ready. Get full code in my github here. Also my covid tracker of simple js is here.
Leave a Reply