Horizontal Scroll with button in REACT
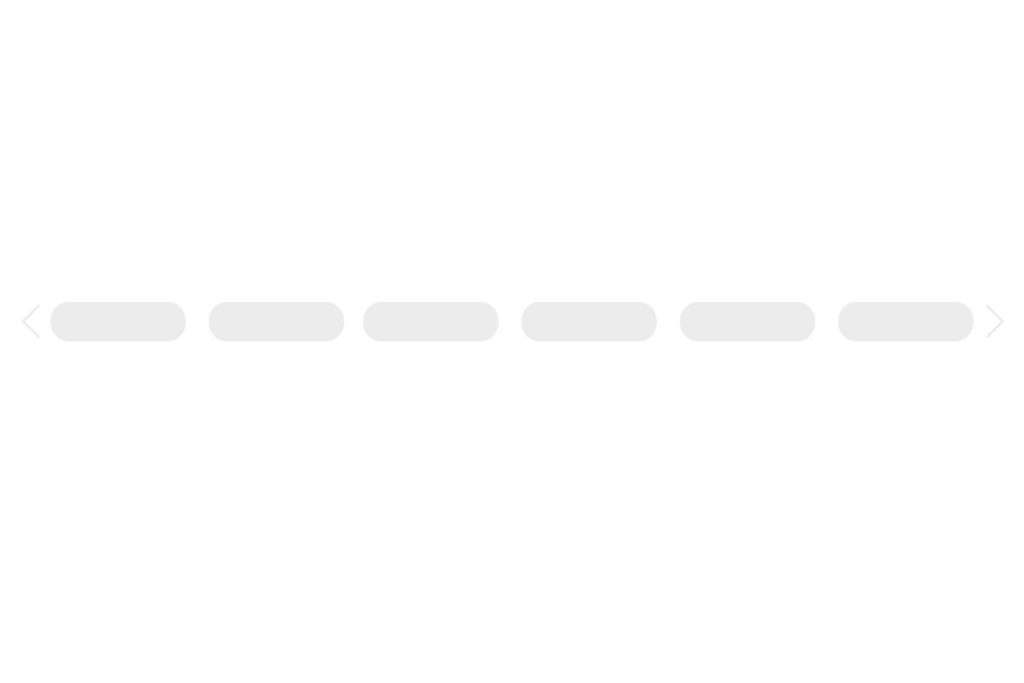
On August 5, 2021 by Sonahang RaiWe saw a feature in the youtube where the recommended search tags are shown. This horizontal scroll tags are managed in such a way that it looks like a carousel slider. There is also two buttons like a nav of the carousel. The button behave in a way that if the items are visible of the start then the first nav button is invisible. And if the last items are scrolled and is in the view then the next button is not visible.


So in this article I will be writing on how to create this type of Horizontal Scroll in REACT Javascript without using any plugin. This article is for the user who has the basic knowledge of the REACT Javascript. But you can try this as it wont just cost you.
Lets get rolled.
Packages Required
Haha we wont need any packages. Just start firing the create-react-app starter code. If you forgot I will make it easy for you.
Run in the terminal
npx create-react-app <your-app-name>
After CRA install
Now after installing the cra starter app. We will consider about the data that is to be used for this small app. We will use a fruits lists in this app. So lets create a JSON file in the root named fruits.json .
{
  "description": "A list of fruits.",
  "fruits": [
    "apple",
    "apricot",
    "avocado",
    "banana",
    "bell pepper",
    "bilberry",
    "blackberry",
    "blackcurrant",
    "coconut",
    "cranberry",
    "cucumber",
    "currant",
    "damson",
    "date",
    "dragonfruit",
    "durian",
    "eggplant",
    "elderberry",
    "feijoa",
    "fig",
    "goji berry",
    "gooseberry",
    "grape",
    "grapefruit",
    "guava",
    "honeydew",
    "huckleberry",
    "jackfruit",
    "jambul",
    "jujube",
    "kiwi fruit",
    "kumquat",
    "lemon",
    "lime",
    "loquat",
    "lychee",
    "mandarine",
    "mango",
    "mulberry",
    "nectarine",
    "nut",
    "olive",
    "orange"
  ]
}
Going to App.js
Now lets go stright to the app.js file. First task is to import the json file of the fruit list so that we can use it.
import data from "./fruits.json";
Now lets create an unordered list in the render part of the app which will be rendering all the list of the fruits. This will render all fruits so we need to give it style in such a way that the overflow of x will be scrolling.
<ul>
  {data.fruits.map((d, i) => (
    <>{d}</>
  ))}
</ul>
We have mapped the fruits we imported in here. Mapping each of them we have rendered all the fruits. Lets make a seperate component which will render the fruits. Lets name it Tag.js .
The Tag.js
We will use this only to render the individual fruits.
const Tag = ({ data }) => {
  return <li>{data}</li>;
};

export default Tag;
This component will require the data props to render the fruits. Import it to the App.js
import Tag from "./Tag"; //Importing the Component

//The code inside of the App.js return
<ul>
  {data.fruits.map((d, i) => (
    <Tag data={d} />
  ))}
</ul>
Upto now this codes will simply render all the fruits into the view. Now lets create the nav buttons.
The Nav(Navigation) Buttons
We need left and right nav buttons so lets create them.
//Left Button
<button className="prev">
 <i className="fa fa-angle-left"></i>
</button>

//Right Button
<button className="next">
 <i className="fa fa-angle-right"></i>
</button>
We will create a function which will shift the element right or left.
   const slide = (shift) => {
    scrl.current.scrollLeft += shift;
  };
This function will take take an argument which tell whether to shift left or right. We have utilised the scrollLeft property in here. We will use this function in the button onclick event. The left button must shift left so it will decrease the scrollLeft value and the right will increase it. Add the function in the onClick event.
//Left Button
<button className="prev" onClick={() => slide(-50)}>
 <i className="fa fa-angle-left"></i>
</button>

//Right Button
<button className="next" onClick={() => slide(+50)}>
 <i className="fa fa-angle-right"></i>
</button>
Remember that we need to make this button hide with a good reason. The first button must be hidden initially and when scrolled it must be shown and when the scrolling is finished we must hide the last button. Now lets make this possible.
Hiding button on condition
Lets create two state which will keep track of the scrolling.
  const [scrollX, setscrollX] = useState(0); // For detecting start scroll postion
  const [scrolEnd, setscrolEnd] = useState(false); // For detecting end of scrolling
Now we will update these state when the buttons are clicked. Hey also dont forget to import the useState hook from react. Also we will use the useRef() of react. We give refrence to the ul so that we can track the scroll end. We will now update the slide function.
   <ul ref={scrl}>
    {data.fruits.map((d, i) => (
       <Tag data={d} />
     ))}
   </ul>

   const slide = (shift) => {
    scrl.current.scrollLeft += shift;
    setscrollX(scrollX + shift); // Updates the latest scrolled postion

    //For checking if the scroll has ended
    if (
      Math.floor(scrl.current.scrollWidth - scrl.current.scrollLeft) <=
      scrl.current.offsetWidth
    ) {
      setscrolEnd(true);
    } else {
      setscrolEnd(false);
    }
  };
Now this updated function will change the state we decleared. After that we will update the componet like this.
    <div className="App">
      {scrollX !== 0 && (
        <button className="prev" onClick={() => slide(-50)}>
          <i className="fa fa-angle-left"></i>
        </button>
      )}
      <ul>
        {data.fruits.map((d, i) => (
          <Tag data={d} />
        ))}
      </ul>
      {!scrolEnd && (
        <button className="next" onClick={() => slide(+50)}>
          <i className="fa fa-angle-right"></i>
        </button>
      )}
    </div>
Now the button will be displayed according to the condition. Hey wait but we also know that there is also a scroll event so we need to check button visible contion during the scroll also so lets do that one. Lets create a function which will run on the ul scroll event.
  //This will check scroll event and checks for scroll end
  const scrollCheck = () => {
    setscrollX(scrl.current.scrollLeft);
    if (
      Math.floor(scrl.current.scrollWidth - scrl.current.scrollLeft) <=
      scrl.current.offsetWidth
    ) {
      setscrolEnd(true);
    } else {
      setscrolEnd(false);
    }
  };

  <ul ref={scrl} onScroll={scrollCheck}>
    {data.fruits.map((d, i) => (
       <Tag data={d} />
     ))}
  </ul>
We will also add a code that will disable the buttons when the items are not scrollable or the item is less than the width.
  useEffect(() => {
    //Check width of the scollings
    if (
      scrl.current &&
      scrl?.current?.scrollWidth === scrl?.current?.offsetWidth
    ) {
      setscrolEnd(true);
    } else {
      setscrolEnd(false);
    }
    return () => {};
  }, [scrl?.current?.scrollWidth, scrl?.current?.offsetWidth]);
Yay It looks like we are done. Now lets beautify a bit of our REACT. Create styles.scss and you can copy paste the below or you can create your own scss styling.
.App {
  font-family: sans-serif;
  text-align: center;
  width: 600px;
  height: 100vh;
  display: flex;
  align-items: center;
  justify-content: space-between;
}

ul{
  display: flex;
  align-items: center;
  list-style: none;
  max-width: 100%;
  overflow-x: scroll;
  scroll-behavior: smooth;
  &::-webkit-scrollbar {
    background: transparent; /* make scrollbar transparent */
    -webkit-appearance: none;
    width: 0;
    height: 0;
  }
  li{
    background:#FF61F6;
    color: #fff;
    padding: 8px;
    border-radius: 4px;
    margin: 0 4px;
    white-space: nowrap;
  }
}

button{
  border: 0;
  color: #777;
  font-size: 24px;
  margin: 0 8px;
}
Hurray now we have created our own Horizontal Scroll tag like of a youtube.
You can also it in your REACT project downloading from npm.